
Last updated November 14, 2026
 Architectural shingles
 Metal roofing
 Tile roofing
 GAF
 Owens Corning
 Flat & low-slope
Free roof inspection with deck photos before we talk money - GAF and Owens Corning certified installation
Roof Repair Maintenance Checklist for Rochester Homeowners
The most expensive roofing mistake we see in Rochester isn’t skipping repairs. It’s doing them in the wrong month. A tube of sealant applied in February at 28 degrees won’t cure, and flashing bedded in cold weather won’t set the way it should. Work scheduled around the actual threat calendar does more for a roof’s lifespan than any product you can buy. This guide lays out a month-by-month checklist for Rochester’s real weather windows, shows you which checks you can make safely from the ground, and covers how to document everything for insurance and resale. Mid-April through October is your working season. Everything else is observation and preparation.
Quick Answer
A Rochester roof needs four scheduled checks a year: a late-winter look for ice dam damage in February and March, a spring review in April once the freeze-thaw cycle breaks, a summer check of flashing and fasteners in July, and a fall gutter and debris clearing in October and November before the first hard freeze. Homeowners can handle ground-level binocular checks. Anything that means walking the roof, sealing flashing, or touching a shingle belongs with a professional, because cold-weather work done outside Rochester’s cure windows fails first.
Styles & brands we work with
- Architectural shingles
- Metal roofing
- Tile roofing
- GAF
- Owens Corning
- Flat & low-slope
Table of Contents
- Why Rochester’s Calendar, Not the Season, Sets Your Maintenance Schedule
- The Month-by-Month Maintenance Checklist for Rochester
- Ground Checks vs. Contractor Work: What You Can Safely Inspect Yourself
- Gutter and Soffit Checks for Homes With Ice Dam History
- The 48-Hour Storm Inspection: Five Things to Check
- How to Document Roof Condition Year Over Year
- Repair or Replace? Reading What Your Checklist Tells You
- Common Mistakes to Avoid
- When to Call a Professional
- Frequently Asked Questions
Why Rochester’s Calendar, Not the Season, Sets Your Maintenance Schedule
Generic checklists say “inspect in spring and fall.” That’s close to useless here. Rochester’s freeze-thaw cycle doesn’t line up with the seasons the way it does in milder climates, and the materials on your roof respond to temperature, not the calendar printed on the checklist. Roofing sealants need sustained warmth to cure. Flashing adhesives need it too. A repair attempted in a cold snap looks fine for a week and then separates the first time the temperature drops.
What sets the schedule in Rochester is the sequence of freeze and thaw, not the month name. The ground freezes hard, snow sits on the roof for stretches, and then a 45-degree day arrives in the middle of January and runs meltwater into places it can’t drain. That cycle repeats until April. Once the thaw settles in, you get a window from roughly mid-April through October where sealants cure, flashing beds properly, and shingles seal down the way they’re supposed to.
That’s why we build maintenance around threat windows instead of tidy season buckets:
- Ice dam season (February and March) is when meltwater backs up under shingle courses and finds interior walls.
- Spring thaw (March into April) is when the damage from the winter shows itself, often in ceilings and attics rather than on the roof surface.
- Summer heat (June through August) drives thermal expansion that loosens fasteners and opens flashing seams.
- Fall leaf load (October into November) clogs gutters before the first freeze, and a clogged gutter in January turns into an ice dam in February.
Every item on the checklist below is timed to one of those windows. Skipping a check in one window doesn’t cost you anything immediately. It costs you in the next one, when the problem it would have caught is now bigger than a repair.
The Month-by-Month Maintenance Checklist for Rochester
Here’s the working calendar we walk homeowners through, in the order the year actually arrives in Rochester:
- January: Watch for icicles forming along the eave and ice building at the gutter line. Don’t try to chip it off. Watch from the ground and write down where it forms; the pattern tells you where the heat loss or the drainage problem is.
- February: Peak ice dam window. Check interior ceilings and attic sheathing for water staining after any melt. A stain that appears in February usually started as an ice dam in January.
- March: Spring thaw. Look for granule loss in gutters and downspouts once the melt clears. Heavy granule shedding after a winter is often the first sign that shingle surface is aging faster than you thought.
- April: First full inspection window of the year. This is when a contractor can walk the roof and actually assess flashing, shingle condition, and fastener integrity. Sealants cure from here on.
- May through June: Repair season. If your inspection turned up anything that needs sealing, re-flashing, or shingle replacement, this is the window to schedule it.
- July: Thermal expansion check. Look for popped fasteners, lifted shingle tabs, and caulk lines that have pulled away. This is also when attic ventilation problems show up as hot spots and early shingle wear on one slope.
- August: Tree canopy check. Look for overhanging branches that will drop leaves or limbs on the roof in fall, and schedule any trimming before October.
- September: Pre-fall gutter clearing. Get ahead of the leaf load rather than reacting to it in November.
- October: Second gutter clearing, plus a full inspection of the roof surface for anything the summer opened up. Any repairs still outstanding need to be done now, not after the first hard freeze.
- November: Last call for cold-sensitive work. Anything that needs sealant or flashing work has to happen before the cure window closes for the year.
- December: Ground-level visual checks only. Note any new sagging, staining, or ice formation and carry the list into January.
If you want to tighten this up further, combine the February interior check with a March gutter look, then hold your main exterior inspection in April. That’s one interior check, one ground check, and one professional inspection per year, plus two gutter cleanings. Most Rochester homeowners can manage that without it taking over their year. When a leak shows up between scheduled checks, our roof repair team can look at it before it becomes a bigger problem.
Ground Checks vs. Contractor Work: What You Can Safely Inspect Yourself
We tell every homeowner the same thing: there’s a real list of checks you can do safely from the ground, and there’s a list you shouldn’t touch. Knowing which is which keeps you safer and saves you money, because you’re calling us for the jobs that actually need us instead of for everything.
What you can safely do from the ground, with binoculars and a notebook:
- Look for missing, lifted, or curling shingles from the driveway and yard.
- Check gutter lines for sagging, and watch where water pours over the edge instead of into the gutter.
- Look at downspouts during a heavy rain to see whether water is leaving the roof properly.
- Note granule buildup in the gutter troughs and at downspout outlets.
- Check ceiling and attic sheathing for water stains after a storm or a melt.
- Look for icicle patterns along the eave and ice at the gutter line.
- Spot tree branches that are close enough to drop debris or scrape the roof.
What requires a contractor, without exception:
- Any task that means walking on the roof, especially after rain, snow, or ice.
- Checking or repairing flashing around chimneys, skylights, and valleys.
- Sealing anything, since cure temperature matters and a bad seal fails fast.
- Assessing shingle condition up close, where wear and granule loss actually show.
- Climbing a ladder to inspect the gutter line at close range after ice has formed.
Roofs are the most common serious-injury fall location on a house, and wet or icy slopes are unforgiving. Our technicians have up to 10 years of experience on Rochester roofs, and even we don’t walk a wet or icy roof. If a check requires getting up there, that’s the line. Call us. Our Valor Roof Repair inspection service is built for exactly that call.
Gutter and Soffit Checks for Homes With Ice Dam History
If your home has produced ice dams before, your gutter and soffit checks aren’t the same as the general ones. Ice dams form when warm attic air melts snow on the upper roof and the meltwater refreezes at the colder eave. When it refreezes, it backs water up under shingle courses, and that’s where interior damage starts. Everything you check on a repeat ice dam home should tell you whether that cycle is getting worse.
Start with the soffit vents. Are they clear? A blocked or painted-over soffit vent cuts off the intake air that keeps the roof deck cold in winter. If the intake side is blocked, the eave warms up, the meltwater refreezes further down the roof, and the ice dam moves. Look for paint, insulation, or debris obstructing the vents, and note any soffit panels that sag or pull away.
Then walk the gutter line from the ground and note these five things:
- Does the gutter still slope toward the downspout? Sagging gutters hold standing water, and standing water freezes into ice along the eave line.
- Are the downspouts pulling away from the gutter or kinked where they meet it?
- Are the gutter hangers loose? A gutter that’s pulling off the fascia in February is the same gutter that overflowed in December.
- Where are the ice shadows forming? Uneven ice formation tells you where drainage is slowest.
- Is the roof edge flashing intact? Drip edge that’s lifted or rusted lets meltwater work behind the gutter.
None of these fixes are do-it-yourself. Gutter fastening and drip edge work happen at height, and on an ice dam history home they need to be done in the warm months, when the materials will set properly. If your checks turn up one of these problems, schedule it in the April-October window. The Rochester climate gives you that window, and it gives you the winter that tests whether the fix held.
The 48-Hour Storm Inspection: Five Things to Check
Rochester storms are worth inspecting for after they drop roughly 2 inches of ice or 6 inches of snow, or when wind is heavy enough to move debris. The window matters because storm damage that isn’t documented within the first two days is much harder to connect to the storm later. Hail is uncommon in this region, so most of what you’re looking for is wind, ice, and impact from debris.
Here’s what to check in the first 48 hours, in this order:
- Interior ceilings and attic sheathing. Walk the house and look up. Water stains after a storm are the earliest signal you’ll get, and they usually appear before the roof surface shows anything.
- Ground-level debris. Shingle tabs, granules, and pieces of flashing in the yard tell you what came off the roof. Photograph it where it landed before you clean it up.
- Gutter lines. Are the gutters sagging or detached where they weren’t before? Are downspouts carrying water where they should?
- Chimney and flashing points. From the ground, look at the chimney, skylights, and any valleys for visible gaps or material that’s shifted.
- Trees and branches. Look for limbs resting on the roof, or branches that scraped the surface as they came down.
Document everything you find with photos and notes in the first 48 hours, even if you don’t call anyone yet. When we handle roof replacement consultations, the homeowners who can show a documented storm history and a running condition record are the ones who get the clearest decisions. If the storm damage looks significant, ask for an inspection during the window and let the photos do their work before you schedule anything.
How to Document Roof Condition Year Over Year
A written roof record is worth more than most homeowners realize. It’s evidence when you file an insurance claim, it’s a disclosure item when you sell, and it’s the difference between knowing a spot has been slowly worsening for three years and guessing at a one-time problem. We recommend a simple binder, either paper or a folder on your phone, and a schedule you actually follow.
Here’s how to build it:
| Record | What to Capture | When |
|---|---|---|
| Photo set | Wide shots of all four roof slopes, close-ups of the chimney, skylights, valleys, and gutters, plus any stain or damage close-up | Once a year from the same vantage points, plus after every storm |
| Written notes | Date, weather window, what you saw, what you decided not to fix and why | Every inspection, ground or professional |
| Professional reports | Inspection findings, materials recommended, scope of any repair | Any time a contractor inspects or works on the roof |
| Receipts and warranties | Materials installed, brand and product line, any warranty documentation | Every repair or replacement |
| Storm log | Date, type of storm, what you observed afterward | After any storm over 2 inches of ice or 6 inches of snow |
Keep the brand names on file. If your roof has GAF or CertainTeed shingles, for example, that matters for matching future repairs and for understanding what warranty coverage you may have. When you can hand a repair contractor a page that says “2022, GAF Timberline, north slope” you save everyone time. When you’re documenting for resale disclosure, that record shows a buyer a roof that’s been maintained, not a roof that’s been forgotten.
Repair or Replace? Reading What Your Checklist Tells You
By the end of your first full year of record-keeping, the checklist starts telling you something specific. A single missing shingle, a flashing seam that’s opened, a handful of curling tabs: these are repair jobs. A roof with recurring interior stains that come back every winter despite repairs, or shingles losing surface granules across several slopes, is telling you something else. The checklist isn’t the answer by itself, but the pattern over two or three years is.
Here’s how we read it, and how you can too:
- Isolated damage, no interior water leans repair. Fix the spot, document the fix, watch it next year.
- Damage that returns to the same spot within a year means the first repair addressed the symptom, not the source. Ask for a second look before assuming replacement.
- Recurring interior staining on multiple ceilings usually means water is finding several paths in. That’s where we start weighing repair scope against the age and condition of the whole surface.
- Widespread granule loss, curling, or shingles near the end of their surface life points toward replacement. Repairing individual shingles on a worn surface gets expensive fast because you’re back the next year.
- A pattern of ice dams in the same spots may point at attic ventilation and insulation as much as the roof surface, which changes what “repair” means.
We’ve built our business around repair, because a lot of damaged roofs don’t need replacing. That’s why we stock and install materials from seven brands, including GAF, CertainTeed, Owens Corning, IKO, Atlas, Tamko, and Boral. When the decision is repair or replace, we can quote the repair in the right material without steering you based on what’s already on hand. The recommendation should follow the roof and your budget, not a crew’s inventory.
See the difference
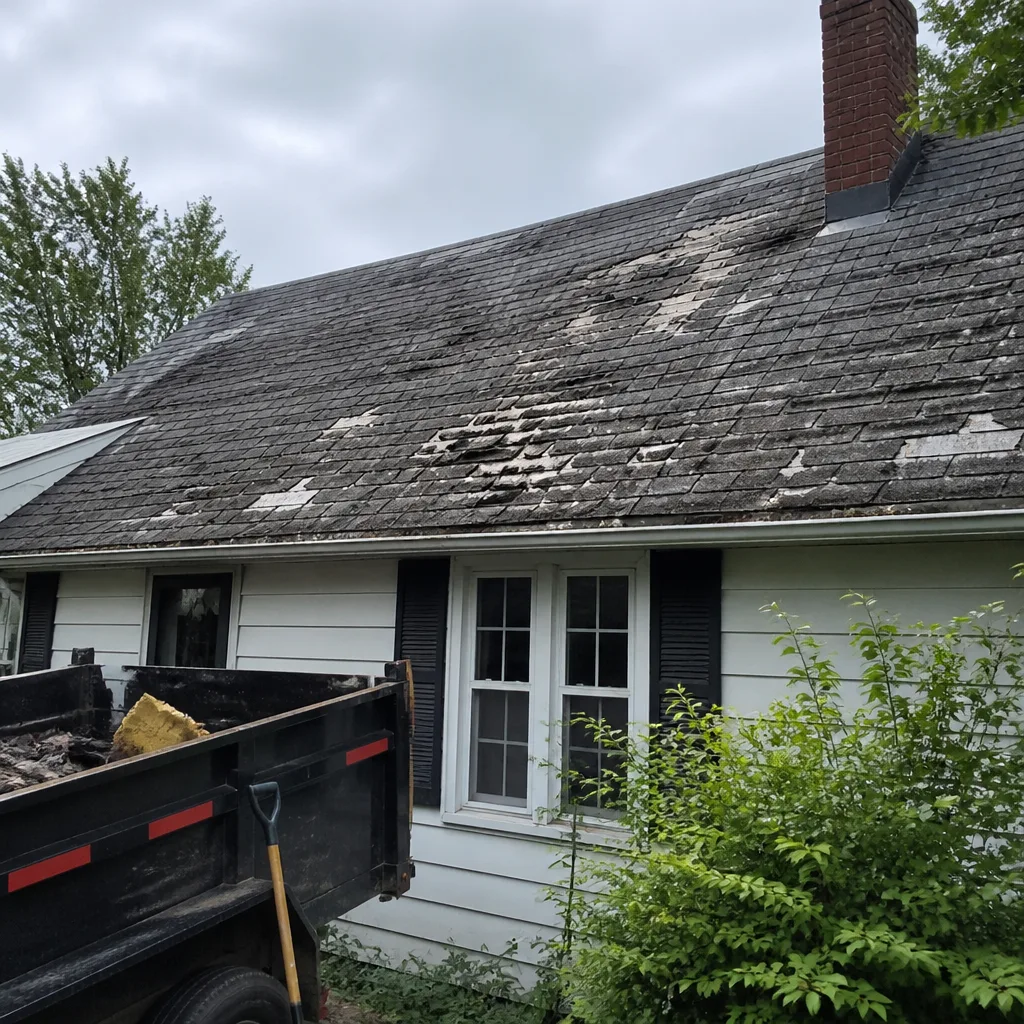 Before
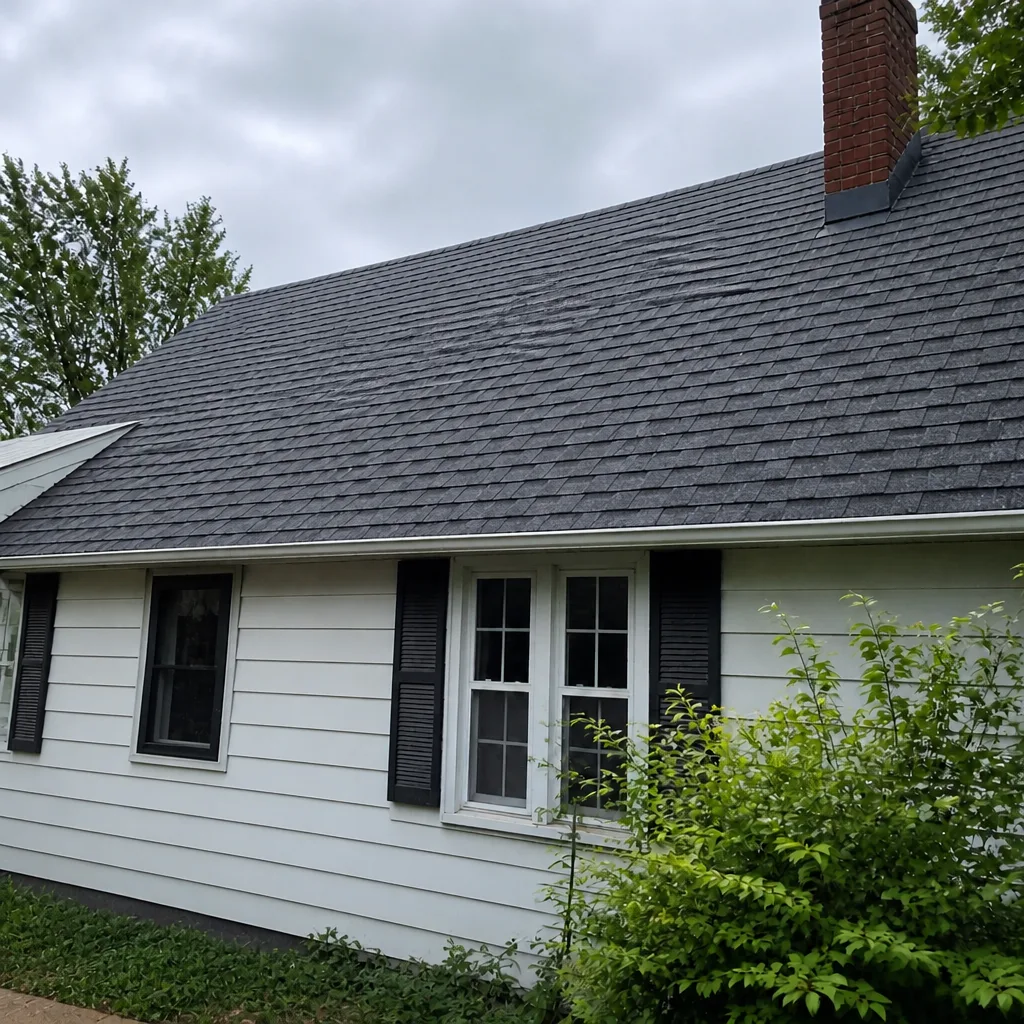 After
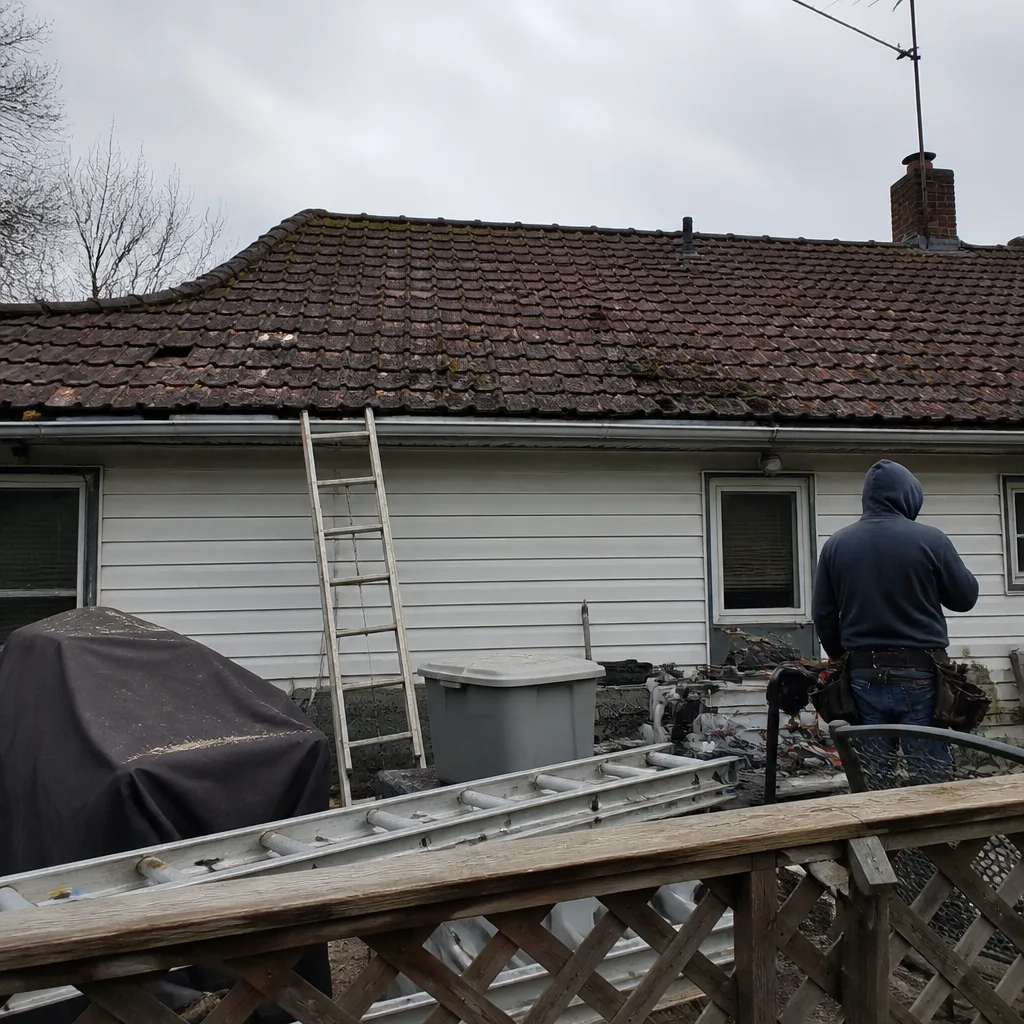 Before
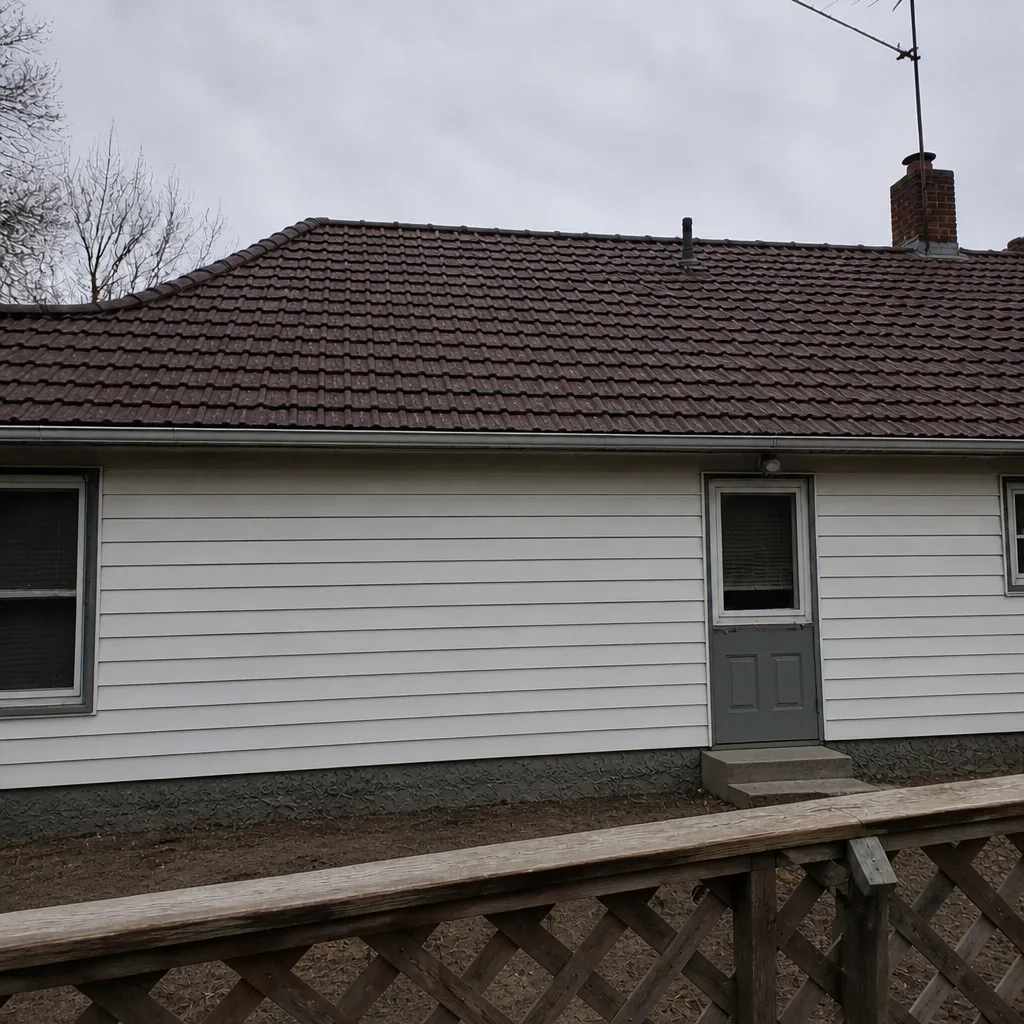 After
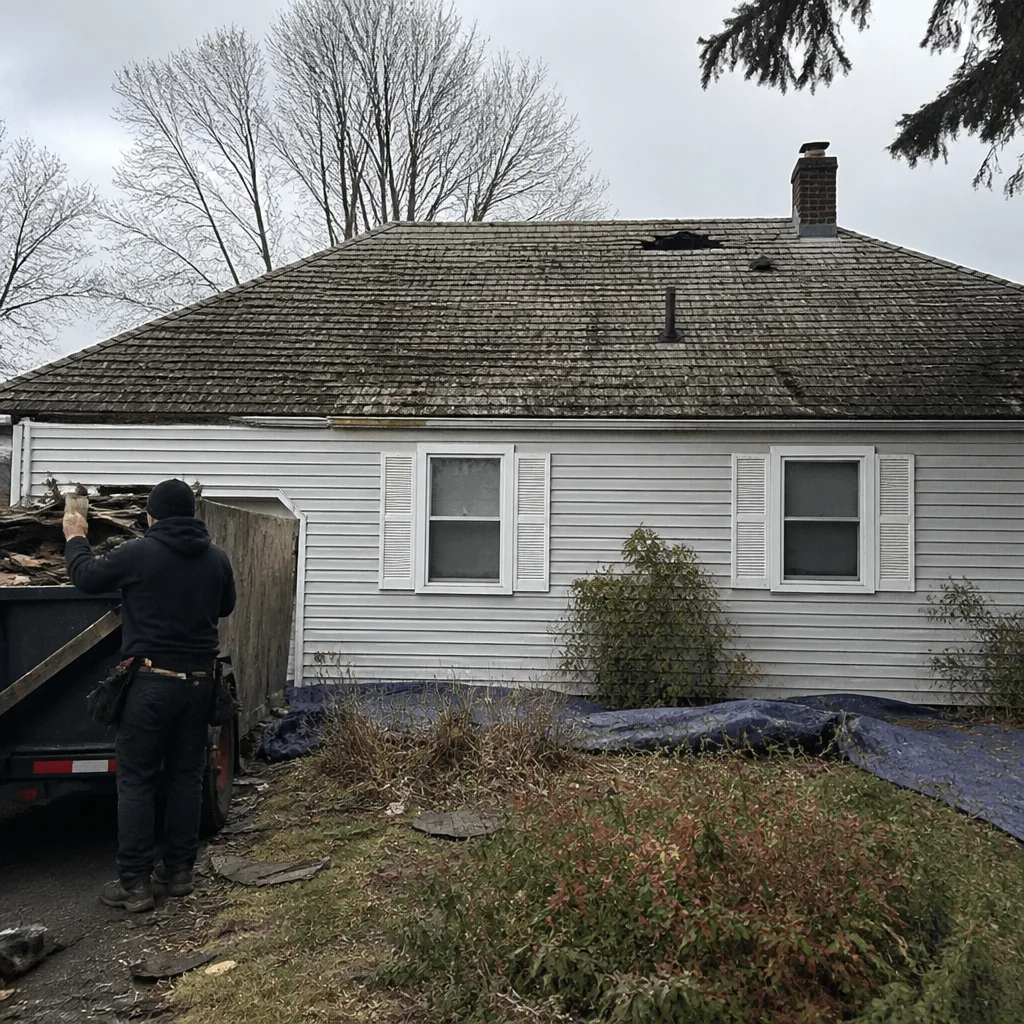 Before
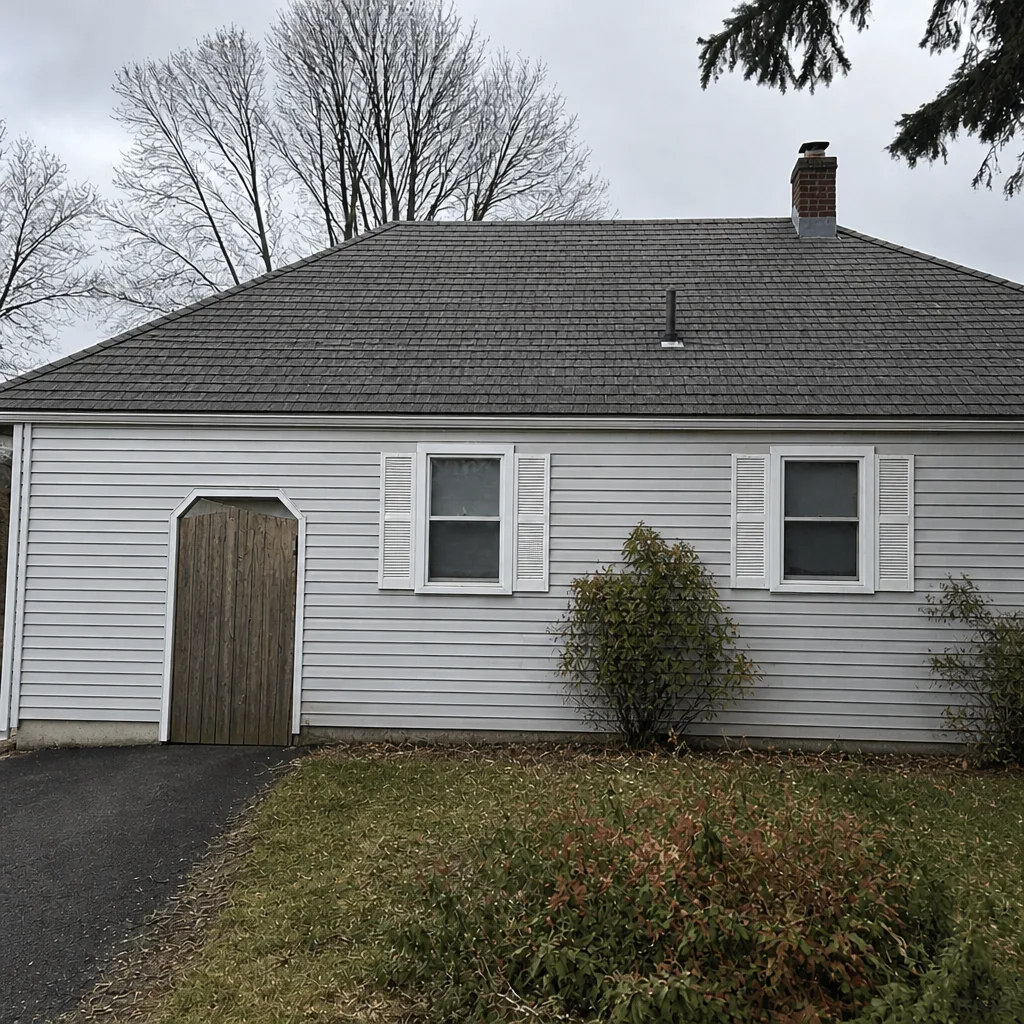 After
Common Mistakes to Avoid
- Scheduling repairs in the cold. Sealants and flashing adhesives don’t cure properly below the freeze-thaw window, and a repair that looks fine in January often fails by March. Schedule cold-sensitive work in the April-October season and let the weather do its part.
- Chipping ice off the roof edge. This is one of the most common winter injuries we hear about, and it damages shingles, gutters, and flashing. Watch where the ice forms instead and document the pattern for a spring fix.
- Clearing gutters after the leaves are already down. Fall clearing is more effective in September, before the leaf load lands, than in November after the first freeze. A clogged gutter in November becomes an ice dam in February.
- Treating one ground check as the whole inspection. A binocular look in April tells you part of the story. The interior check in February and the thermal expansion look in July catch what a single surface view misses.
- Skipping the storm log. Roof problems that show up in November often connect back to a storm in August, and without a dated log the connection is hard to prove. Photograph and note every significant storm in the first 48 hours.
- Waiting for a visible leak to call anyone. Interior staining and attic sheathing damage often show up before you’d ever describe the roof as leaking. Address what the record shows, not just what’s dripping.
- Assuming a full replacement is inevitable. A lot of roofs that look tired from the ground just need specific repairs. Get an inspection first and ask what the repair would actually involve.
When to Call a Professional
Call us when the checklist turns up any of these: icicles forming along an eave after every melt, interior stains that come back after a repair, visible flashing gaps near the chimney or skylights, shingles that are lifting without storm cause, gutters pulling off the fascia, or a storm inspection that turns up more than a handful of missing tabs. Also call if you’re not sure which side of the repair-or-replace line you’re on. Our technicians have up to 10 years of experience and can tell you directly whether a roof needs repair, replacement, or nothing at all. Valor Roof Repair offers free estimates in Rochester; call (855) 473-8654 to schedule an inspection. We answer 24/7. Fast dispatch from 7am to 7pm, Sunday through Friday.
Frequently Asked Questions
Once a year with a professional, plus your own ground-level checks in February, July, and after any big storm. The single professional inspection should land in the April-October window, when the roof surface is dry, sealants will cure, and a contractor can walk it safely. A February inspection is mostly about finding the damage the winter has already done. Call (855) 473-8654 to schedule an inspection, and estimates are free.
You can safely do ground-level checks with binoculars, a notebook, and a camera, and you can check attic and ceiling interiors for water stains. Anything that means walking on the roof, sealing flashing, or repairing a shingle belongs with a contractor, because the injury risk is real and the material work is temperature-sensitive. Call (855) 473-8654 for a free estimate on anything that needs a ladder.
Mid-April through October is the working window for anything that involves sealants, flashing, or shingle replacement. That’s when the freeze-thaw cycle releases, the surface is dry, and materials cure the way they’re supposed to. Any repair you’ve decided on should be on the calendar by September. Call (855) 473-8654 to get a repair scheduled, and estimates are free.
Isolated damage with no recurring interior water leans repair. Recurring stains in the same spot, or shingles losing granules and curling across multiple slopes, point toward replacement. The clearest answer comes from a documented record over two or three years plus a professional inspection. Call (855) 473-8654 for a free estimate, and we’ll tell you which one the roof actually needs.
Check interiors for water stains, ground-level debris for shingle tabs and granules, gutter lines for new sagging, chimney and skylight flashing from the ground, and tree limbs near the roof, all within 48 hours. Photograph what you find before you clean it up, and note the storm date in your log. If the damage looks significant, call (855) 473-8654; estimates are free.
Yes. A dated record with photos, notes, professional reports, and material brands is evidence you can attach to an insurance claim, and it’s a disclosure item a buyer will want to see at resale. A well-maintained record shows a roof that’s been maintained rather than forgotten, which is worth something when you sell. If you want a professional report to add to the file, call (855) 473-8654 for a free estimate on an inspection.
The Bottom Line
The right maintenance schedule for a Rochester roof follows the freeze-thaw cycle, not the seasons on a generic checklist. Do quick ground checks in February and after any storm over 2 inches of ice or 6 inches of snow, keep a documented record from year to year, clear your gutters before the first freeze, and let a professional handle anything that means walking the roof. Time the actual repairs to the April-October window so materials cure properly. Our repair-first approach at Valor Roof Repair means we’ll tell you what your roof actually needs, and the answer isn’t always a new roof.
If you’ve been watching a problem come back after every winter, if your checklist turns up something you’re not sure about, or if you just want a written record you can trust, call (855) 473-8654 for a free estimate. We answer 24/7. Fast dispatch from 7am to 7pm, Sunday through Friday. Seven brands, one crew, and the right material for your roof and your budget.
Written by the team at Valor Roof Repair.